
Matting Prints with Borders
Every frame we ship out comes with strips of archival tape to keep your artwork in place behind the mat.
Trusting the pressure of the backing board to keep the artwork in place will result in it slipping from behind the mat window over time.
Using our tips, you will be able to easily, and quickly hinge your work to keep it secure.

Step One: Remove the mat and foam
Firstly, wash your hands and make sure they are dry to ensure you don't mark the mat or work.
Start by opening up your new frame and removing the mat and foam backing. You should never need to remove your glass, so leave it in the frame with the face of the frame facing down.
Step Two: Line up your work
Your mat and foam will come hinged together to make lining up your work as easy as possible.
Holding the mat and print, use your fingers to shuffle its position around behind the the window until the border are even, and place down again with mat lined up with foam.


Step Three: Pin the print in place
Place something on the print to weigh it down. Don't use something with a patterned base or that is sharp enough to dent the work.
A flat based glass, a heavy coaster, a small book, something that will ensure it doesn't slide around while you tape it down.
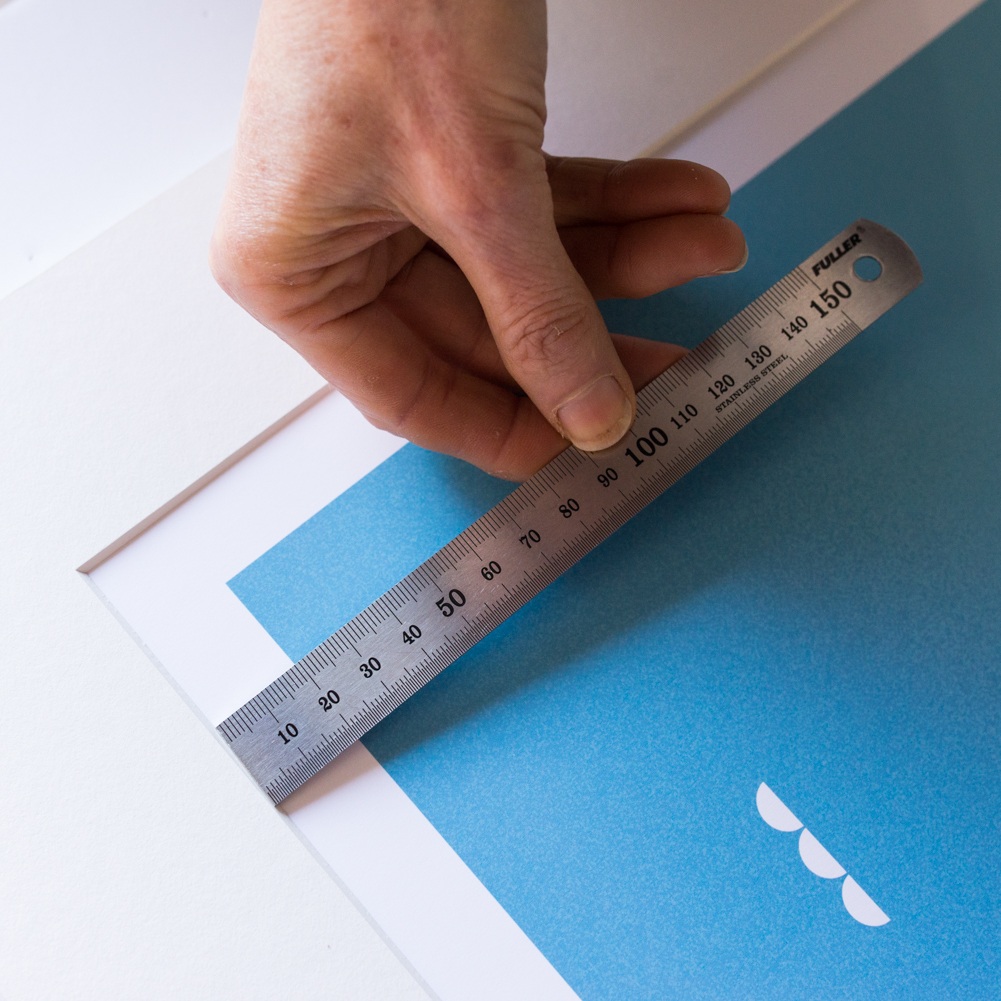
Step Four: Check your print alignment
Once you have pinned the work down, double check that it is still lined up by placing the mat back down and using a ruler to measure your borders.
Adjust as necessary with the weight in place.

Step Five: Tape to backing
When you are happy with your alignment, rip or cut your tape in half, and place half under the top of the work. tape work to the backing board, pressing firmly but gently to properly adhere the tape.
Be sure to run your thumb or heel of your palm along the strip to check the whole piece is firmly secure.
Repeat on other side.
When both hinges are firmly secured, peel the protective layer off the doubled sided tape in the bottom corner and secure mat in place, double checking your borders are even as you go.
Step Six: Place back in the frame
Now everything is secure, place your mat back on top of the print and foam. Place back in the frame, mat facing down. Check the glass is clean before you do and remove any dust where required.
Bend pins back into place to secure.
For more tips on this step CLICK HERE

Still curious? Check out these related articles!

Matting Borderless Prints

Fitting Matted A4 and A3 Prints

Fitting Matted A2 Prints